How to post LinkedIn carousels
In this step-by-step guide, we'll walk you through creating and publishing a carousel on LinkedIn. Whether you're a seasoned LinkedIn user or just getting started, harness the potential of this feature to elevate your professional presence. Let's dive in and explore how you can create and share impactful carousels with your LinkedIn network.
(Note: As of June 26, 2023, native LinkedIn carousels have been discontinued. Users can now create similar carousels by uploading PDF documents, providing a workaround to continue sharing carousel-like posts on the platform.)
1. Create a new post
After logging in to your LinkedIn account, you'll be on your home feed. Click on the "Start a post" text box at the top of your feed.

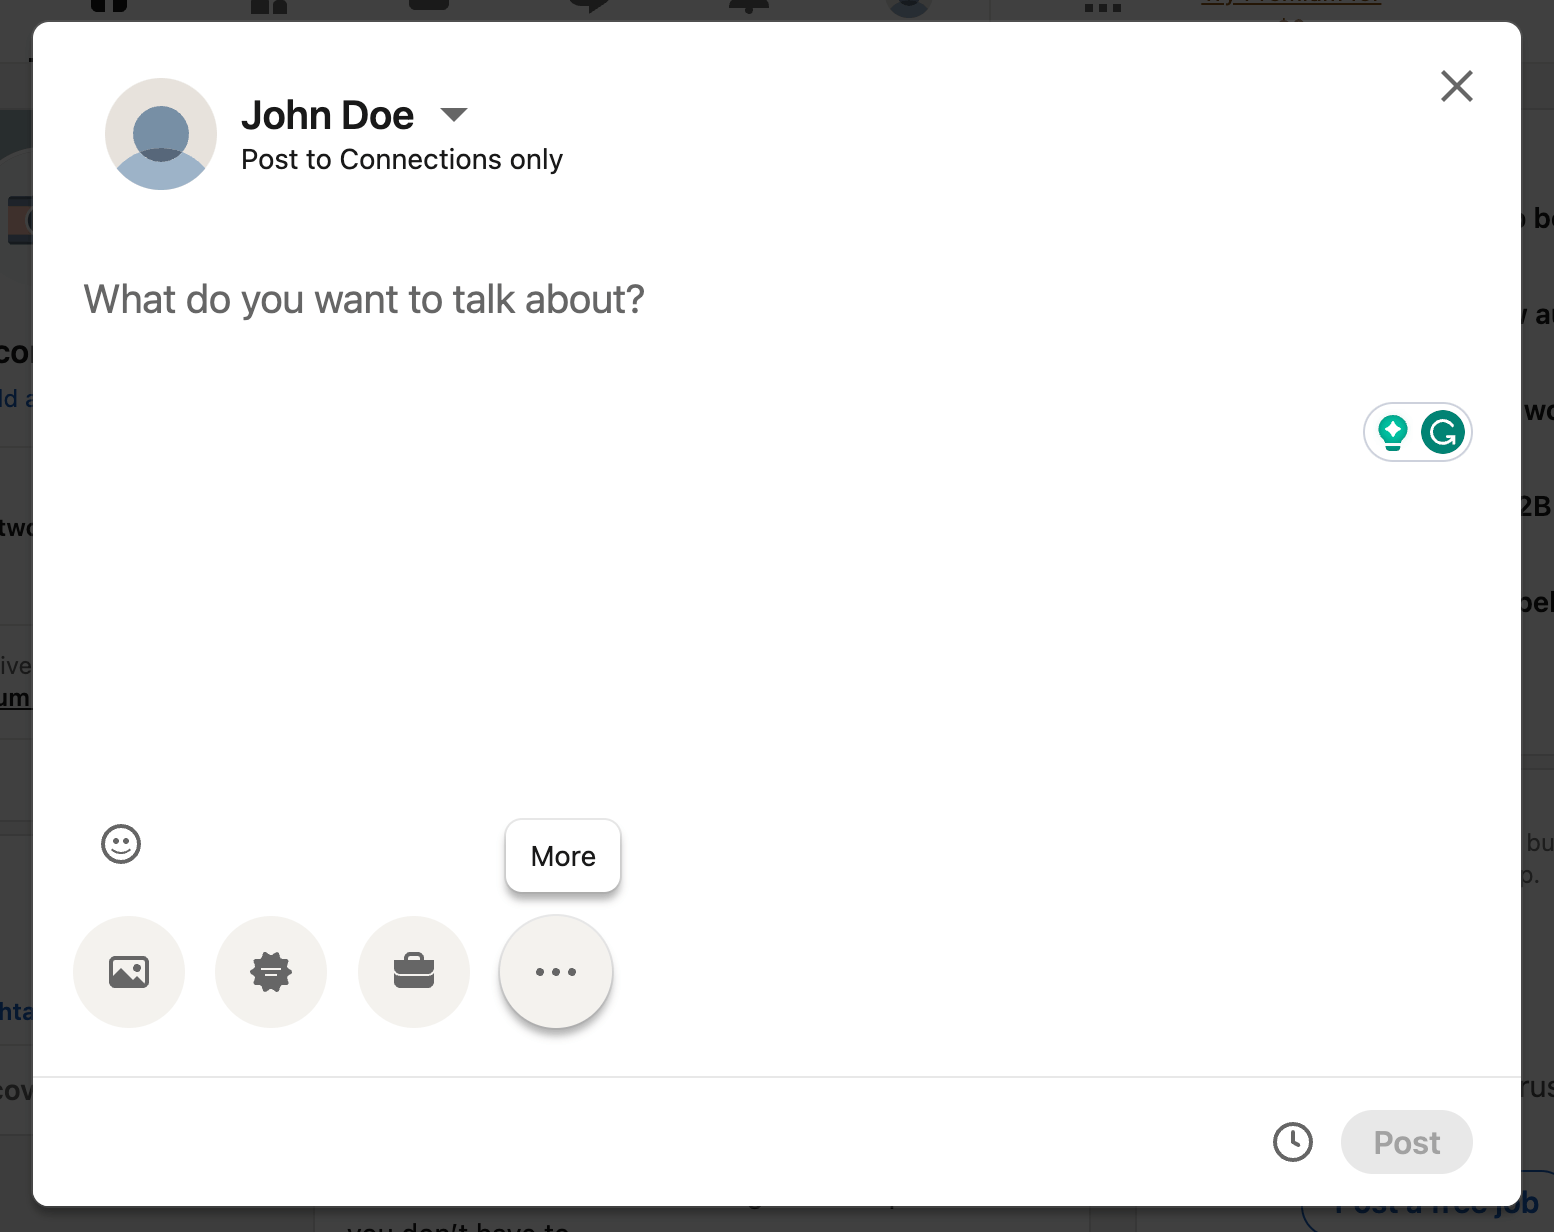
2. Click on "More"
Click the 3-dot symbol to show all post options.

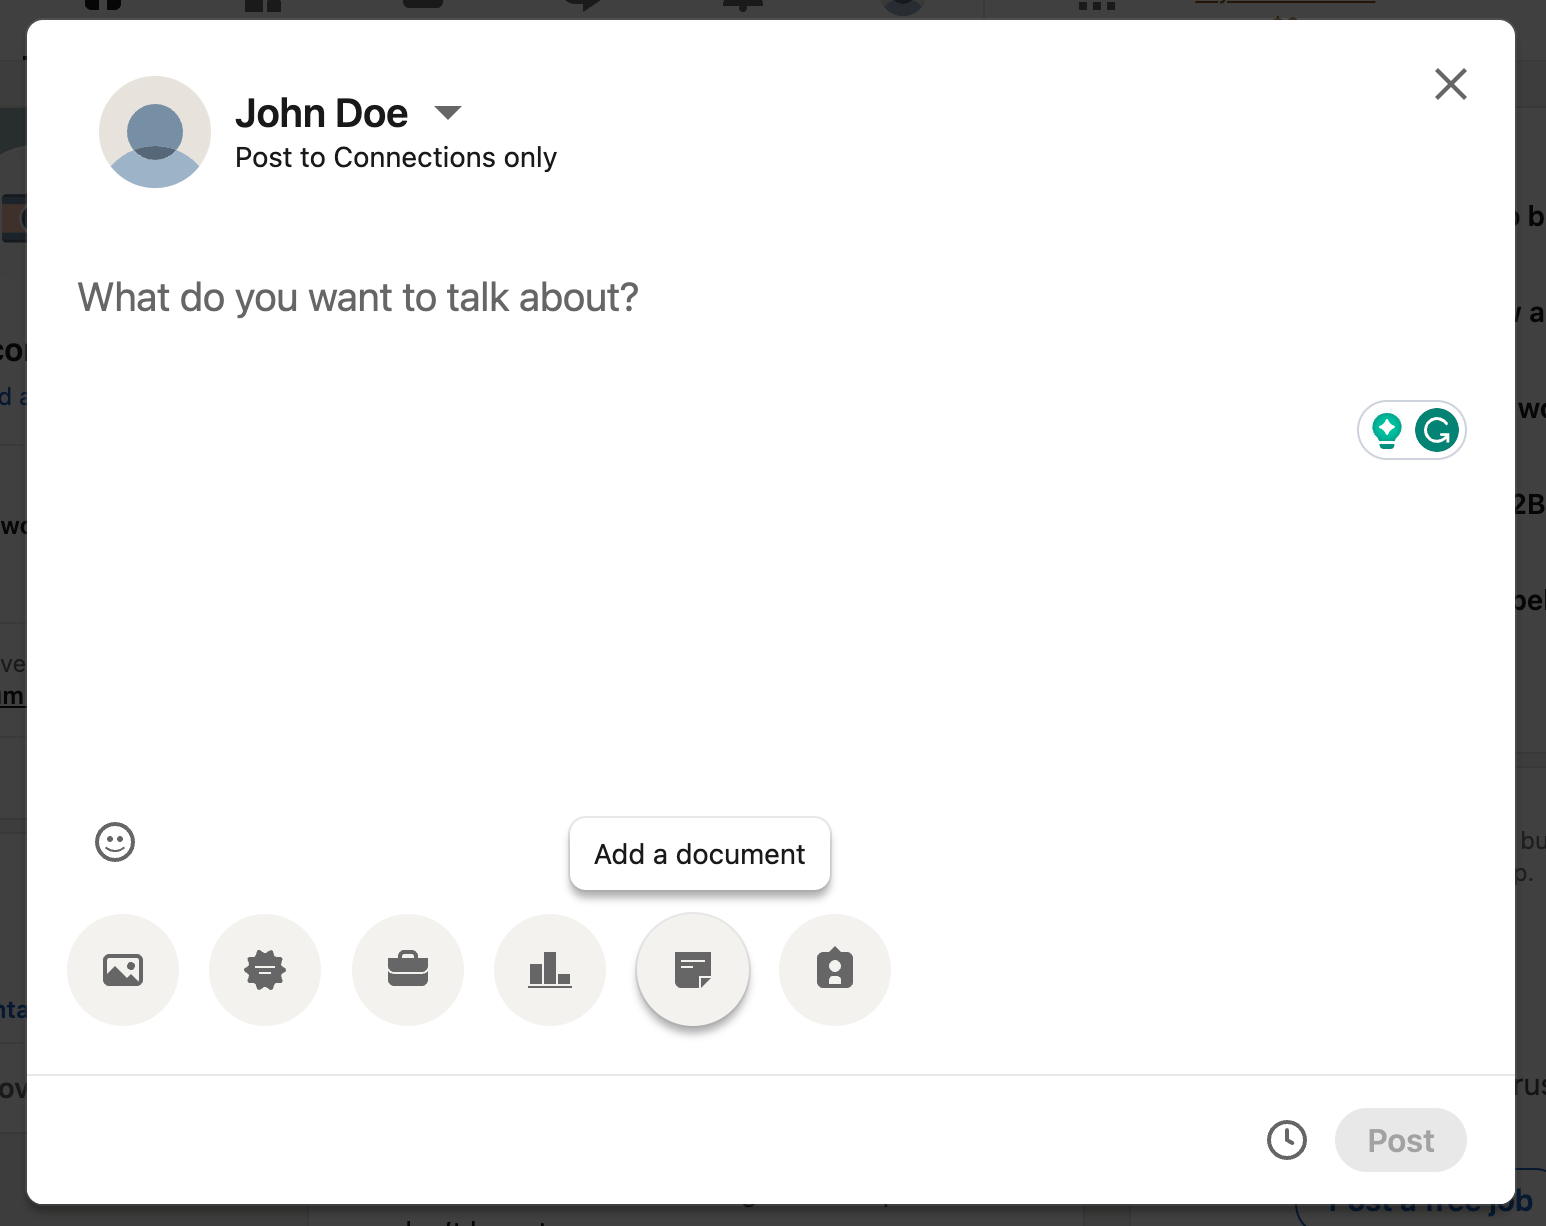
3. Click on "Add a document"
Click the document symbol to open the "Share a document" dialog.

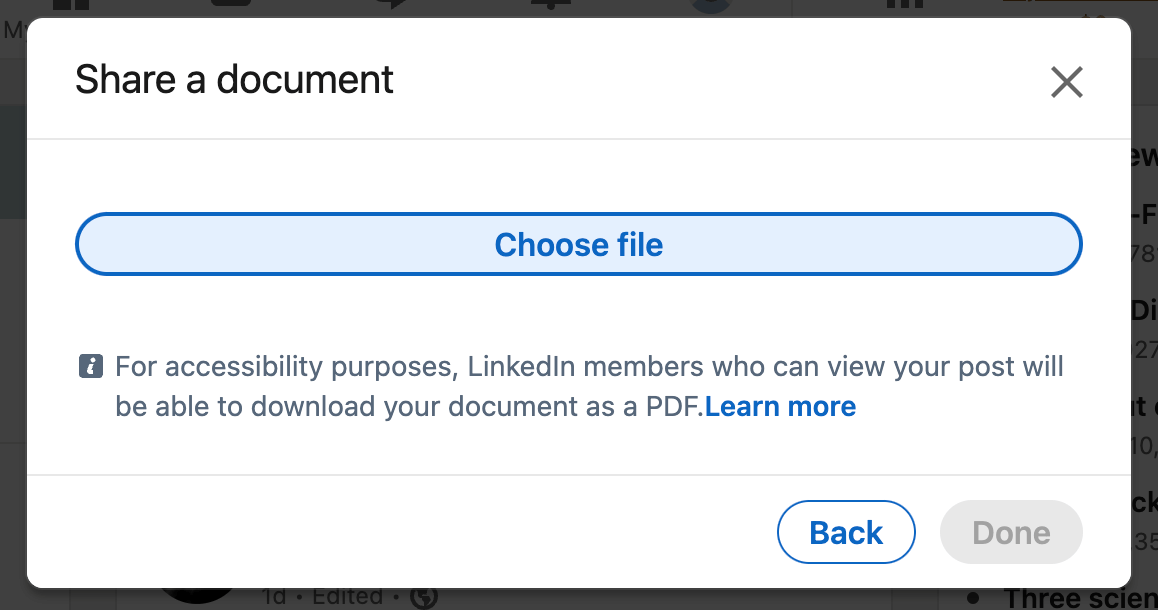
4. Upload your carousel in PDF format
Click the "Choose file" button to open the file dialog. Navigate to your file and select it. This will start the document upload. If you don't have your carousel in PDF format, you can create a carousel PDF here.

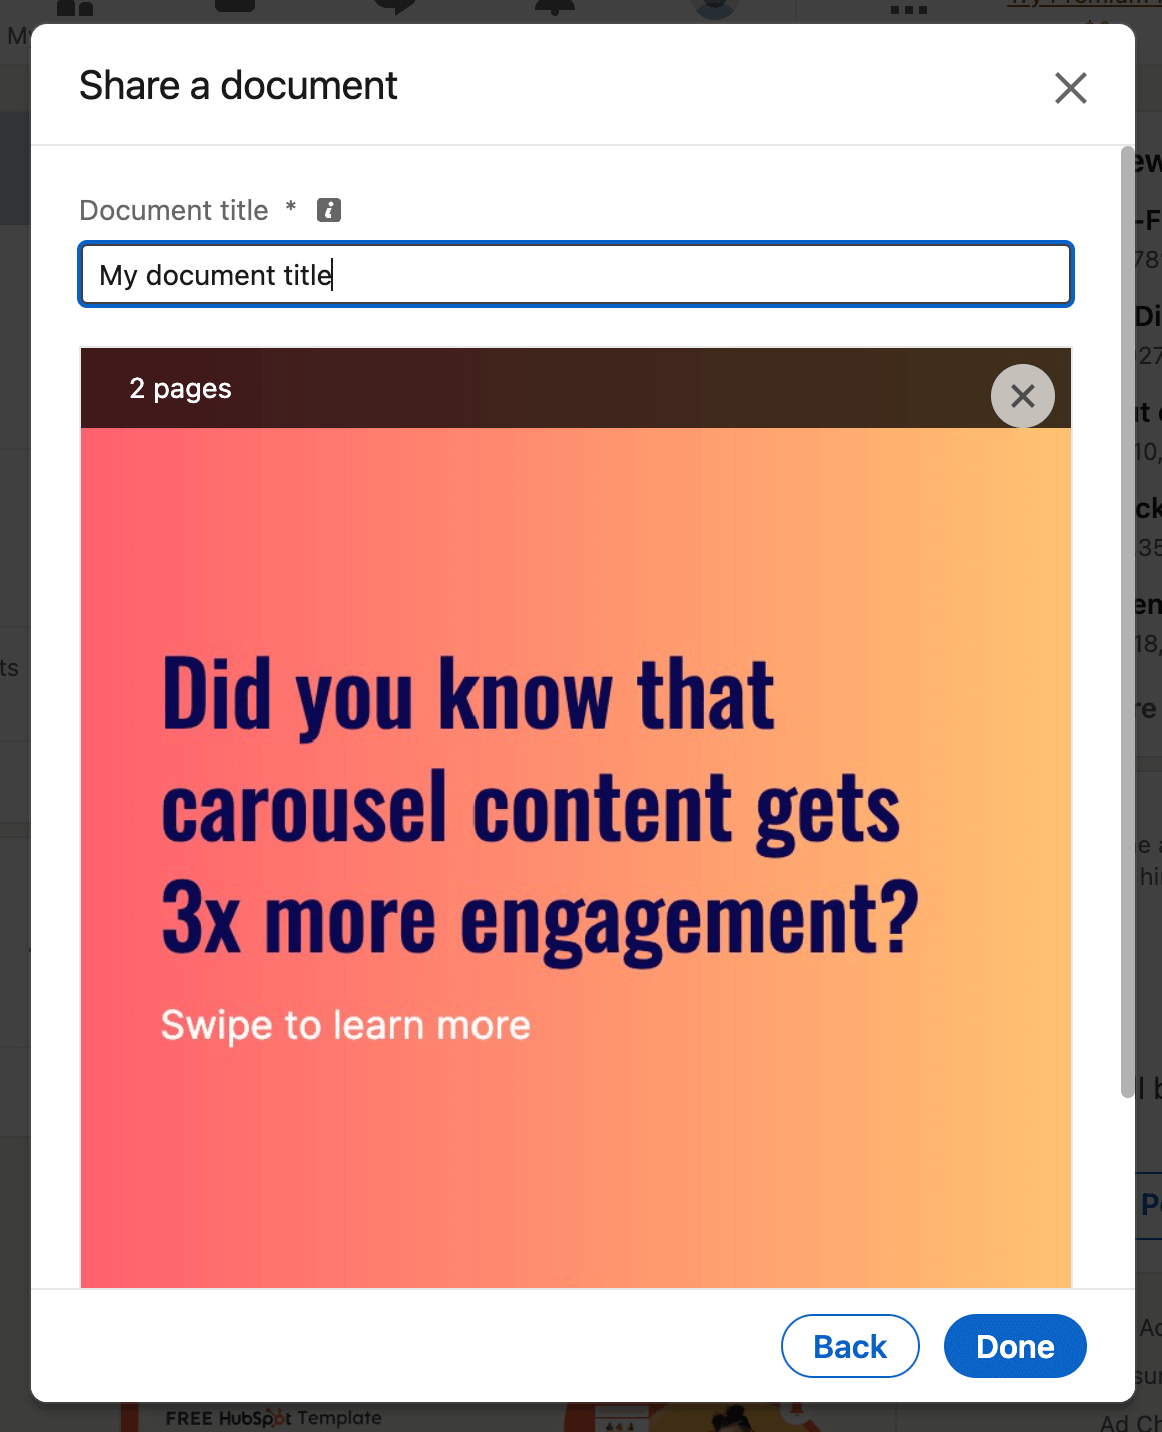
5. Set a document title
You will now be prompted to enter a document title above your posted carousel. Enter a descriptive and meaningful name.

6. Publish your post
You can now add your post caption, publish it immediately, or schedule it for later.

That's it! You've successfully published a carousel on LinkedIn. Your carousel post is now accessible to your LinkedIn connections and can help you engage with your professional network.